How to Drain Water From a Keurig
Many people love the Keurig coffee maker due to its user-friendliness and speedy operation. What you might not know is that it’s able to deliver you a fresh cup of coffee as quickly as it does because, along with an external tank, the Keurig also has an internal tank, which stores a cup of hot water.
Furthermore, it’s important to drain the tank from time to time.
Here’s how to drain water from a Keurig:
- Empty the external tank or reservoir.
- Adjust the external reservoir’s float.
- Press the “Brew” button.
- Wait till the LCDs the “Prime” message.
This easy method doesn’t require extra equipment or taking apart your machine. In this article, I’ll provide a detailed explanation of these steps and the steps for another method requiring the disassembly of your Keurig.
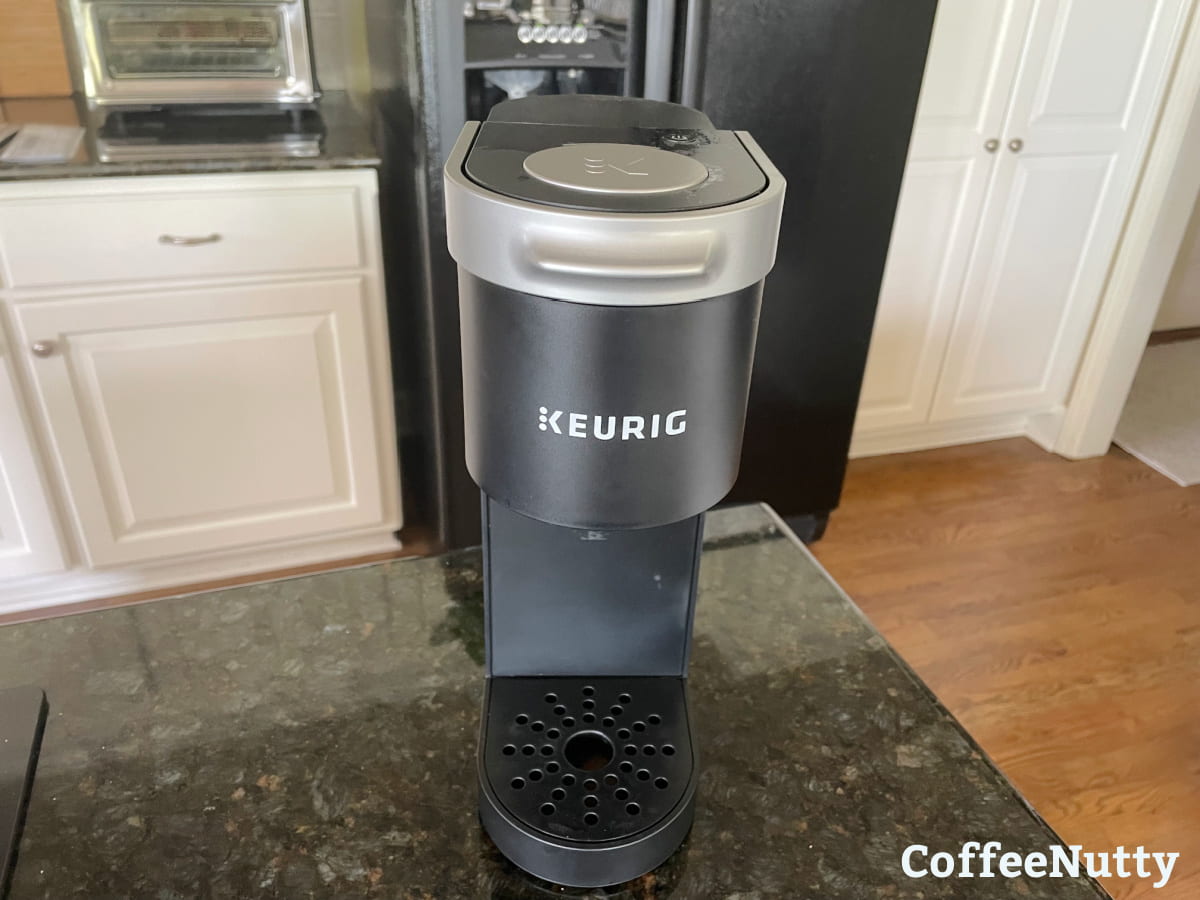
Keep in mind not all Keurig models are identical, but hopefully this will give you easy ways to drain your Keurig to ensure you are ready for the next brew cycle.
1. Empty the External Tank or Reservoir
Even though the Keurig has an internal tank, it only brews coffee when the external tank is full.
This method for draining the machine will trick it into thinking that the external reservoir is full. However, before that, you need to empty the Keurig water reservoir.
2. Adjust the External Reservoir’s Float
Once the tank is empty, take a look inside it.
You need to locate the metal disk that’s off to one side at the bottom. Slide the disk to the top of its track and give it a slight push to ensure it stays at its position.
Then, place the tank back into the machine.
3. Press the “Brew” Button
Since the machine thinks the external reservoir is full, you can click the Brew button to start the brewing cycle of the hot water.
Don’t forget to put a cup under the brew head on the drip tray to collect the water. There’s no need to put in a coffee pod / coffee cartridge since you’re only draining the tank.
4. Wait Till the LCD Displays the Prime Message
When the Keurig’s LCD says “Prime,” it’s done brewing the hot water. There you have it. The internal tank is all emptied now!
Sometimes the Keurig coffee maker will ask you to add more water instead.
Should this happen, detach the external reservoir and adjust the float again as in step two (2). Repeat the procedure till step four (4), and the LCD screen of your Keurig should say “Prime” after the second brewing round.

RELATED: Is it Safe to Leave Water in a Coffee Maker Overnight?
How To Disassemble and Drain Water From a Keurig
Disassembling your machine is another way to empty your internal water tank. Keep in mind that this will evoke your Keurig machine’s warranty.
The items you need to carry out this method are:
- Flathead screwdriver
- Pitcher
- Needle-nose pliers
- Straw
Once you have everything you need, follow these simple steps:
- Power off your machine and let it cool down. Use the power button to switch off your Keurig machine and unplug it from the power outlet. Ideally, if you used it recently, wait 30 minutes before continuing the disassembling process.
The machine stores hot water, so it’s crucial to let the hot water tank cool down before working on it. - Lift the brewer handle. Access the internal tank through the top of the machine. To do that, lift the brewer handle, i.e., the compartment where your pod goes.
- Locate and remove the two screws using the flathead screwdriver. You’ll find two screws at the 11:00 and 1:00 positions. Unscrew these using a flat-head screwdriver.
The Klein Tools Mini Flathead Screwdriver (available on Amazon.com) has a cushion-grip handle that is bound to make the process smoother for you. - Remove the top of the machine. Pull the loosened panel gently in the forward and upward direction to slide it off. You’ll now be able to see the inner tubing of your machine.
- Disconnect the silicone tubes from the internal tank. Two tubes are connected to the internal tank: One attached to the L-shaped connector at the back-right, and a second comes out of the top of the internal tank.
The tubes are attached to the metal water filter attachments with zip ties. Use needle-nose pliers to move the zip ties down the tube and detach them. (Or, cut off the zip ties and attach new ones later, if you have some.) - Drain water into the pitcher. With the tubes disconnected, turn the brewer upside down and drain the excess water into the pitcher. Fair warning — the water will drain out very slowly.
The good news is that you can speed it up using the tip in the next step. - Insert a straw into the other opening of the tube at the top of the tank. Take a straw and insert it where the tube at the top of the tank was connected.
This will improve airflow and quicken the water drainage process. Wait till all the water drains out and the tank is empty. - Reattach the hose. Now that the internal tank is empty, it’s time to reassemble your machine.
If you moved the zip ties down to disconnect the tubes, move them back up using the needle-nose pliers. If you cut them off, use new zip ties to reattach the tubes to their connectors. - Reattach the panel. Slide the top of the machine back to its place. After that, use a flat head screwdriver to screw back the top part.
There you have it! Your machine is now drained through disassembly and reassembled to make you a fresh, hot cup of coffee again. Let the brewing process of your next cup begin.
RELATED: How to Clean a Coffee Maker with Apple Cider Vinegar
Why You Should Drain Water From Your Keurig
It’s not a good idea to leave remaining water in your Keurig coffee maker for a long time.
Failing to drain the water from time to time can create a breeding ground for mold or bacteria, which can cause health issues if ingested. You want your Keurig coffee pot to be in the best working condition.
Additionally, if used in a very cold area, the water may freeze and damage the internal tubing of your machine if leftover water remains.
For these reasons, if you’re going away on vacation or not a regular coffee drinker and know you will not be using your keurig brewer for an extended period of time, it’s ideal to drain the water from the internal reservoir to avoid these potential issues.
RELATED: How Do Coffee Makers Heat Water So Fast?
Final Words
You may need to drain the water from your Keurig’s internal tank to perform a thorough cleaning with white vinegar or for storage purposes. This guide will hopefully make draining water from a Keurig a breeze for you!
Related: Reasons Why Your Coffee Machine is Slow
You Might Like