Coffee pods contain an individual serving of coffee inside of a biodegradable pouch that also acts as a filter. They are not the same as k-cups, which are little plastic cups with coffee grounds and a filter inside. Pods are usually used in conjunction with a special coffee maker, but it is possible to use them in a regular drip coffee maker as well.
To use coffee pods in a regular coffee maker, cut open the pod with kitchen shears and dump the coffee grounds into the filter inside the coffee maker. Use the coffee to water ratio that is recommended by the coffee maker’s owner’s manual.
Don’t worry if you still aren’t sure exactly what to do. In this article, we’ll give you step-by-step instructions on how to use coffee pods in a regular coffee maker and how to use on even if you don’t have a coffee maker.
Using Coffee Pods in a Regular Coffee Maker
We would never recommend buying coffee pods just to use in a regular drip coffee maker. It isn’t any more convenient, it’s more costly, it won’t produce a better cup of coffee, and it isn’t the most environmentally-friendly choice.
There is little difference between the coffee grounds you find in a pod and those you find in a bag. The main difference is in the ease of use, and the pod may be slightly fresher since it wasn’t sitting open in your cupboard for a week as you work your way through it.
That being said, sometimes, you find yourself the owner of coffee pods, and you don’t want them to go to waste. Thankfully, using coffee pods in a regular coffee maker is nearly as easy as using regular ground coffee.
Here’s how to use coffee pods in a drip coffee maker:
- Prepare the pod. Hold the pod in one hand and give it shake to make sure the coffee settles into the bottom of the pod. If you’re having trouble seeing, hold it up to the light. You should be able to tell where the coffee has settled in the pod. It is not possible to shake down the grounds in every pod. If your pod is tightly packed, this might be a little messier.
- Hold the pod over the coffee filter. To avoid any potential mess or waste of coffee grounds, hold the pod over the coffee filter that you plan to dump the grounds into.
- Cut into the pod. Using kitchen shears, cut across the top of the coffee pod to create a hold.
- Dump the grounds. Dump the grounds into the filter.
- Add more coffee as needed. Pods usually contain 1.5 TBS to 2 TBS of ground coffee. Generally, you want about 2 TBS of coffee per 8 ounces of water, but this varies from machine to machine. Check with your coffee maker’s owner’s manual.
- Run the machine as normal. Now that you have your coffee grounds ready, you can run the machine as you normally would. If you notice that your coffee tastes different, it is likely due to the quality of the coffee grounds themselves and not because you’re using pods. If you like the flavor, try to find whole bean or ground bagged versions of the same coffee.
Pretty easy, right? But if you’re only trying to make one cup of coffee, you can skip the machine altogether. Most drip coffee makers are poor choices for making single cups unless it is specifically intended for small-batch use or a very good machine.
Don’t Put Whole Pods in a Regular Coffee Maker
We don’t recommend just tossing a couple of pods into your coffee maker still in their filter. It might be just fine, and it would likely produce a stronger coffee, but it could also be a disaster.
Two filters will slow down the rate that the water moves out of the coffee filter. Your coffee maker doesn’t necessarily account for this slowed downflow and will keep pouring water on to the ground, and you’ll end up with a big mess.
For smaller batches of coffee, this is less likely to happen, but then you won’t be able to evenly disperse the grounds, which could result in watery coffee.
All-in-all, it is better to take the extra step and open the pods and dump the ground coffee into the filter.
How to Use a Coffee Pod Without a Coffee Maker
Using a coffee pod without a coffee maker is just as easy as using them with one. The magic of coffee pods is that they are wrapped in a material that already filters the coffee. You can think of them as being the coffee version of a teabag.
There are two ways you can go about this, and both of them will produce a decent cup of coffee.
Steep the Coffee Pod
The first and simplest option is to steep the coffee pod in hot water, just like you would a teabag. Here is how to steep a coffee pod:
- Place the coffee pod in the bottom of a coffee mug that holds about 8 ounces of water. If the mug is 16 ounces, use two pods.
- Pour hot water (just about boiling) into the mug.
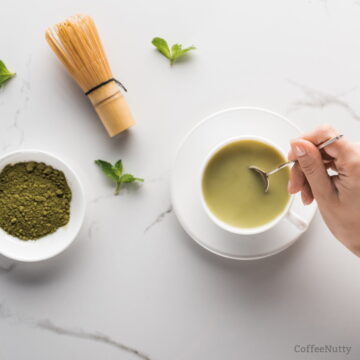
- If the pod floats, place a spoon on top of the pod to force it back into the water.
- Allow the coffee to steep for about three minutes. Longer if you like a more robust coffee and less if you like a weak coffee.
This method could also be used to make a cold brew, but you would need to step the pod overnight for the best results.
Pour Over the Coffee Pod
This one requires a little more equipment. You’ll need some sort of mesh strainer to hold the coffee pod while you pour the water over the top. If you already have a pour-over coffee set up, now would be the time to use it.
- Place the coffee pod in the strainer and the strainer over the cup.
- Slowly pour hot water over the pod and only the pod. Do not pour too fast. If water bypasses the pod and goes straight into the cup, you’ll end up with watery coffee. Yuck! This will take some time, so be patient.
- Once you’ve poured about 8 ounces of water over the pod, you’re ready to doctor up your coffee however you normally do and enjoy!
If you do have pour-over coffee equipment, you could also open the open and dump the coffee into your filter just like you would with ground coffee.
Using a K-Cup in a Regular Coffee Maker
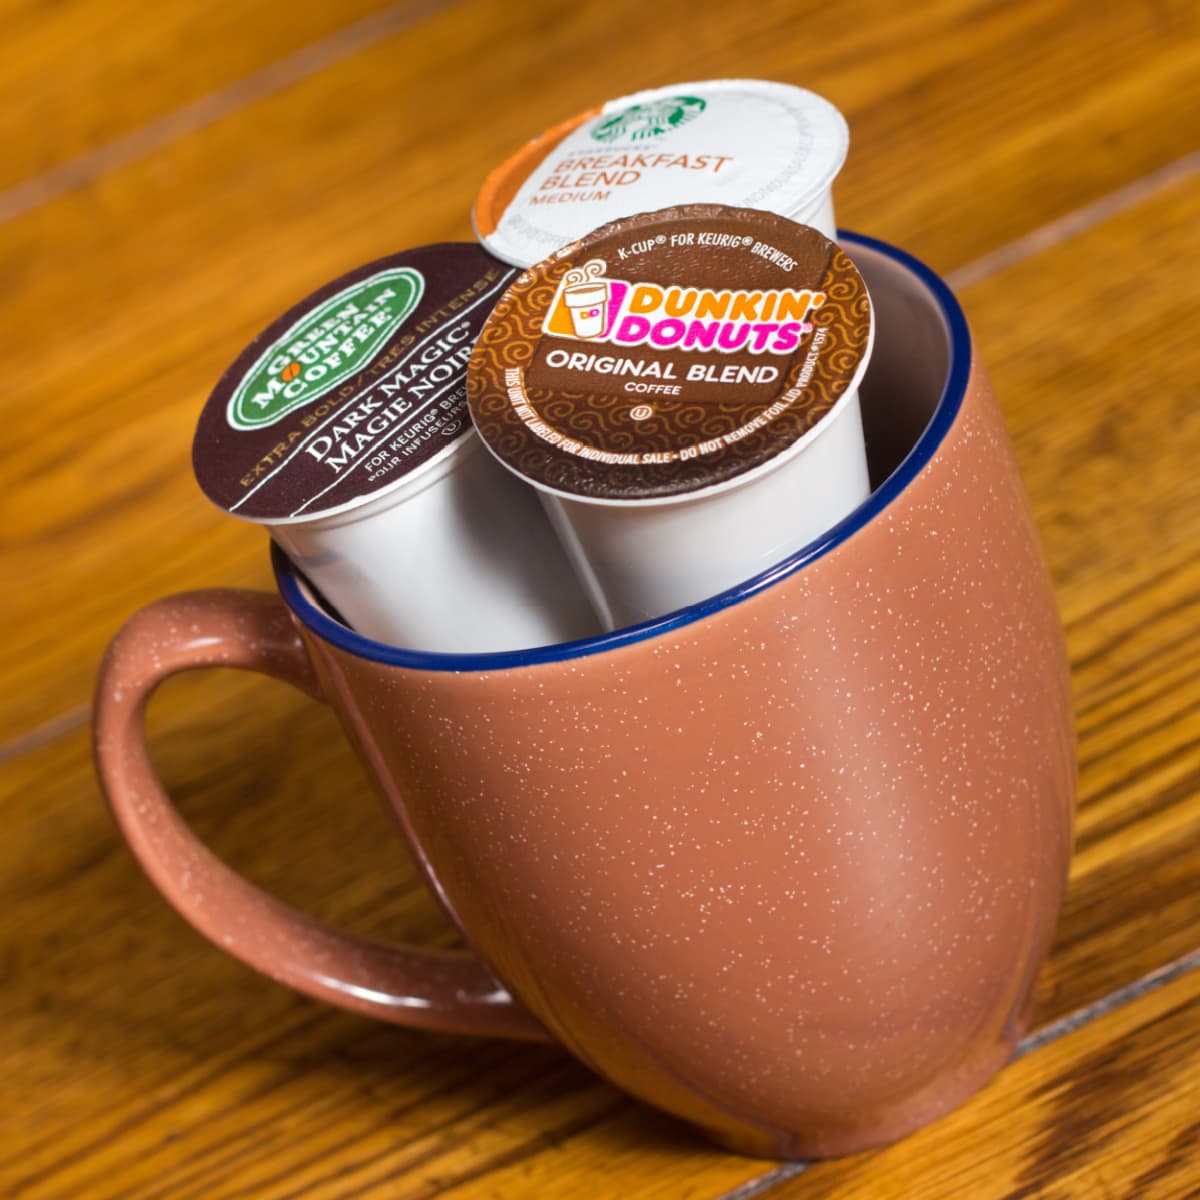
It is a common misconception that K-Cups are coffee pods, which is completely understandable. Both K-Cups and coffee pods are used in specialty coffee makers, and they are used to make single servings of coffee, but they are quite different.
A K-Cup is a small plastic cup sealed at the top with a thin layer of foil. Inside a K-Cup ground coffee is held suspended in a filter.
Even though K-Cups are not the same as pods, you can still use them in a coffee maker by removing the coffee from the pod and dumping it into the coffee filter!
Here are the step-by-step instructions on how to use a K-Cup in a regular coffee maker:
- Using a butter knife or even a fork, pierce the foil at the top of the cup alongside the rim of the cup.
- Work the knife around the rim and pull back the foil. At this point, you should be looking at coffee grounds.
- Dump the coffee into your coffee filter as you normally would. K-Cups usually have approximately 2 TBS of coffee in each cup.
It’s really not so different from using a pod in your regular coffee maker.
RELATED: